


Curing cannabis in jars isn’t just a tradition — it’s a game-changer for quality. Whether you’re a seasoned grower or curing your first harvest, understanding this simple yet powerful process can make all the difference in flavor, potency, and long-term storage.
Table of Contents
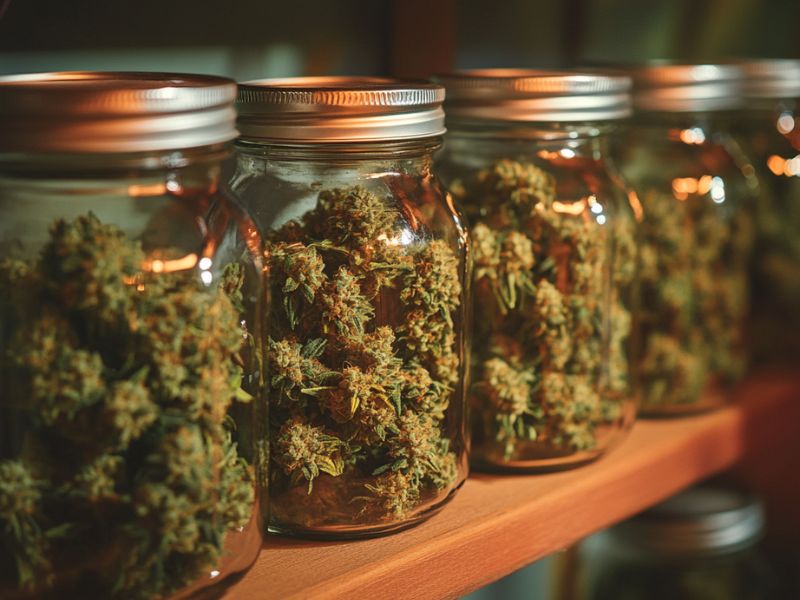
What is Jar Curing?
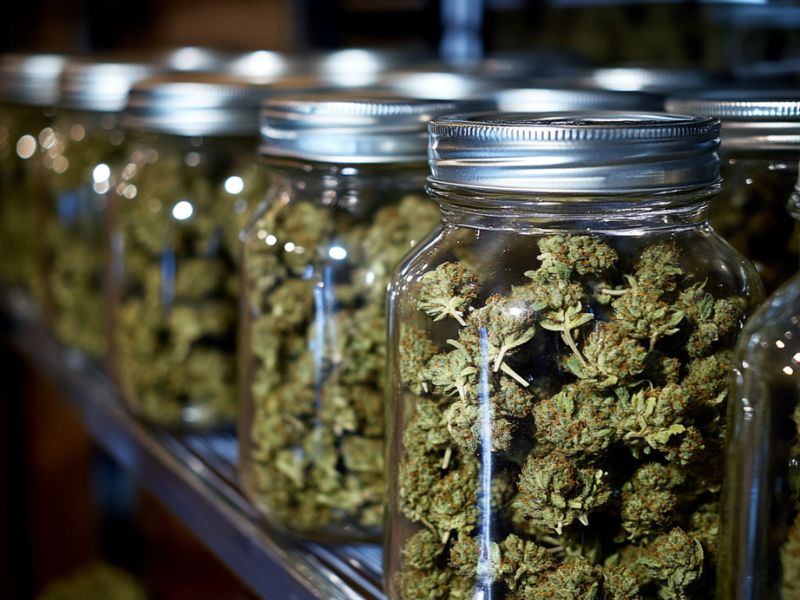
Jar curing is the process of storing dried cannabis buds in airtight glass jars—typically wide mouth mason jars—to slowly remove remaining moisture while preserving flavor, potency, and aroma. This method allows cannabis to “sweat,” balancing humidity levels inside the jar and enhancing overall quality.
By creating a controlled environment, jar curing protects buds from overdrying and helps break down unwanted compounds, resulting in smoother smoke and longer-lasting freshness.
Benefits of Jar Curing Cannabis
Jar curing offers more than just a place to store your buds — it plays a vital role in enhancing the final product. Here are the key benefits:
- Improved Flavor: Slowly curing in glass jars preserves terpenes and reduces harshness, leading to a smoother, tastier smoke.
- Enhanced Potency: The curing process allows cannabinoids like THC to mature, often increasing the overall strength of the cannabis.
- Better Burn Quality: Properly cured buds burn evenly and consistently, avoiding the snap-crackle-pop of improperly dried material.
- Extended Shelf Life: Curing in a cool, dark place using sealed jars protects buds from mold, moisture, and air exposure, making long term storage more effective.
- Mold Prevention: By controlling humidity levels inside curing jars, you minimize the risk of mold growing on your trimmed buds.
- Aromatics Preservation: Jar curing helps retain that fresh, pungent aroma cannabis growers aim for, unlike quick dry methods that strip away the scent.
- Smoother Smoke: As chlorophyll breaks down during curing, the smoke becomes less harsh and more enjoyable, similar to how pipe tobacco is aged.
How to Cure Cannabis in Jars
Curing cannabis in jars is a simple but essential step that takes patience and attention to detail. Here’s a step-by-step guide to help you do it right:
1. Harvest and Trim Your Buds
Start by harvesting your cannabis plants when the trichomes are at their peak. Trim off excess leaf while keeping the buds intact. Whether you prefer wet or dry trimming, ensure the buds are clean and well-shaped before the next step.
2. Dry the Buds Properly
Hang dried cannabis upside down in a cool, dark place with good airflow and controlled humidity (around 50-60%). This drying phase typically lasts 7–10 days. Buds are ready for curing when the outer surface feels dry and the smaller stems snap rather than bend.
3. Choose the Right Jars
Use quart-size, wide mouth mason jars or any clean, airtight glass jars. These are ideal for maintaining freshness and controlling moisture. Avoid bags or plastic containers, as they don’t offer the same level of protection.
4. Fill the Jars Loosely
Gently pack the dried buds into jars, filling them about ¾ full. Don’t overpack — you want enough airspace to allow for proper airflow and “sweating.” Too much compression can lead to moisture buildup and mold.
5. Store in a Cool, Dark Place
Keep your curing jars in a cool dark location (around 60-70°F with 55-65% humidity). This environment slows degradation while enhancing the cure. Avoid placing jars in direct sunlight or warm, humid areas.
6. Burp the Jars Daily
For the first 1–2 weeks, open each jar once or twice daily for a few minutes. This releases excess moisture and allows fresh air in, a process known as “burping.” If buds feel moist or the air smells sharp and grassy, continue daily burping.
7. Monitor Humidity
Use small hygrometers inside jars or humidity packs to maintain ideal levels. If the humidity inside rises above 65%, leave the lid off for a few hours. If it’s too low, buds may be too dry — rehydrate gently if needed.
8. Cure for Several Weeks
Most cannabis is cured for 2 to 4 weeks, but curing longer (up to 8 weeks or more) can enhance flavor, potency, and smoothness. Be patient — this is where the biggest difference in quality is made.
9. Store for the Long Term
Once fully cured, store jars sealed tightly in a cool dark place. For long term storage, you can use vacuum seal lids or moisture-control packs to maintain the perfect environment without the need for constant burping.
Things to Watch Out For During Cannabis Jar Curing
Even with a solid curing process, a few missteps can affect the final quality of your cannabis. Here are some key things to watch out for:
- Too Much Moisture: If buds feel moist or soft, there’s a risk of mold. Make sure the buds are dry enough before jarring.
- Overdrying: Buds that feel crispy and crumbly before curing may have lost too much moisture, reducing flavor and potency.
- Lack of Airflow: Overpacking jars can restrict airflow, leading to uneven curing and potential mold issues.
- Skipping Burping: Forgetting to burp the jars in the first couple of weeks can trap moisture and ruin the cure.
- Direct Light Exposure: Storing jars in light can degrade THC and terpenes. Always cure in a dark place.
- Fluctuating Humidity: Keep humidity levels stable. Big swings can damage the buds and slow the curing process.
- Unpleasant Smells: A sharp, ammonia-like odor signals trapped moisture — open jars immediately and let the buds breathe.
Final Thoughts
Curing cannabis in jars may take time, but the rewards are well worth the wait. From smoother smoke to longer shelf life and better flavor, this process truly upgrades the final product.
Ready to cure like a pro? Start with the right jars and give your harvest the finish it deserves.
Frequently Asked Questions
1. How long can cured cannabis stay fresh in jars?
Properly cured and stored cannabis can stay fresh for 6 months to over a year. Use airtight glass jars and store them in a cool, dark place to maintain flavor, potency, and aroma.
2. Can I cure cannabis without using mason jars?
While mason jars are ideal, any clean, airtight glass jar will work. Avoid plastic containers or bags, as they can affect taste and fail to regulate humidity properly.
3. Should I grind my buds before curing?
No. Always cure whole, trimmed buds. Grinding before curing will dry them out too quickly and expose more surface area to air, reducing quality.
4. Is it okay to open the jars after the first few weeks?
Yes, but only occasionally. Once curing is complete (after several weeks), you can open the jars once in a while to check aroma or prepare for use — just don’t do it too often or you’ll risk drying them out.
5. Can I reuse curing jars for new batches?
Absolutely. Just make sure to clean and dry the jars thoroughly before using them for a new batch to avoid contamination or mold.
6. What’s the ideal smell during curing?
A pleasant, earthy, or slightly sweet aroma is normal. A sharp ammonia or musty smell means there’s too much moisture — you should burp the jars more frequently or let the buds air out.
7. Can I speed up the curing process?
While it’s tempting, rushing curing (like using heat or fans) can harm potency and taste. Slow and steady curing in jars is the best method to bring out top-shelf quality.